
How to Install Interlocking Rubber Floor Tiles Without Adhesive

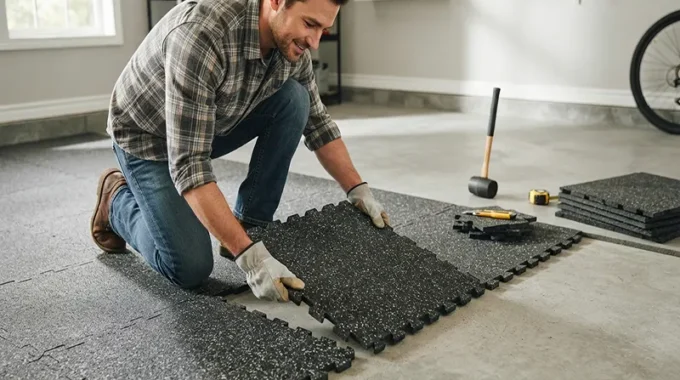
Transforming a bare garage slab or a basement concrete floor into a high-performance training sanctuary is one of the most rewarding upgrades a fitness enthusiast can undertake. However, the thought of working with sticky polyurethane adhesives, permanent chemical bonds, and messy cleanup often deters DIYers. Enter interlocking rubber floor tiles. Utilizing a “loose-lay” interlocking system, these heavy-duty tiles provide the exact impact absorption and durability of commercial facilities without the permanence or hassle of glue. With the right preparation and a few basic tools, you can achieve a professional-grade gym floor in an afternoon.
1. Subfloor Preparation and Moisture Management
A flawless installation begins long before you snap your first puzzle tab together. The lifespan and stability of your loose-lay rubber floor depend entirely on the condition of your subfloor.
- Cleaning and Debris Removal: Sweep and vacuum the concrete, wood, or tile subfloor thoroughly. Any stray pebbles, grit, or dried