Water stains on a textured ceiling can be an unsightly and frustrating problem for homeowners. Whether caused by a leaky roof, plumbing issues, or condensation, these stains can detract from the overall appearance of a room. Fortunately, with the right approach and a little patience, it is possible to remove water stains from a textured ceiling. In this step-by-step guide, we will walk you through the process of restoring your ceiling to its former glory.
Identify the Cause and Resolve the Issue
Before removing the water stains, it’s crucial to identify and fix the source of the problem to prevent further damage. Check for any leaks in the roof or plumbing systems and repair them accordingly. Additionally, ensure proper ventilation in the room to minimize condensation and moisture buildup.
Prepare the Work Area
To avoid any mess and protect your furniture or flooring, it is essential to properly prepare the work area. Cover the floor and furniture with plastic sheets or drop cloths, and use painter’s tape to secure the sheets to the walls and protect your surfaces.
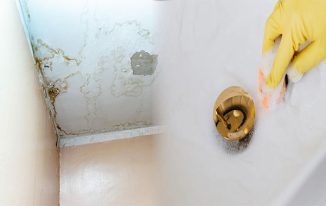
Clean the Stained Area
Before treating the water stains, it’s important to clean the affected area thoroughly. Use a mixture of mild detergent and warm water to gently scrub the stained portion of the ceiling. Be cautious not to soak the texture too much, as it may become difficult to restore its original appearance.
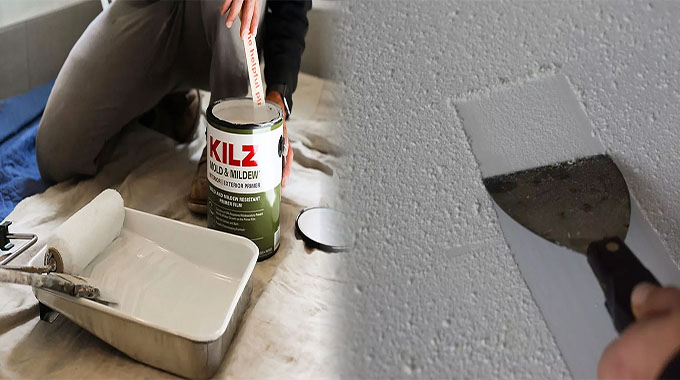
Apply Stain-blocking Primer
After the ceiling has dried completely, it’s time to apply a stain-blocking primer. This primer helps to prevent any residual staining from bleeding through your new paint or ceiling finish. Use a paint roller or a brush to evenly apply the primer over the stained area. Allow it to dry according to the manufacturer’s instructions.
Touch Up with Matching Paint
Once the primer has dried, it’s time to touch up the ceiling to achieve a seamless finish. Match the color and texture of the existing ceiling by taking a small sample to your local hardware store and asking for assistance in finding the closest match. Using a paint roller or brush, carefully apply the matching paint over the primed area, blending it with the surrounding ceiling.
Evaluate and Repeat if Necessary
Allow the paint to dry completely before evaluating the results. If the water stain is still visible, you may need to repeat the process, applying another coat of primer and paint until the stain is successfully concealed. Exercise patience and take your time to achieve the desired outcome.
By following this step-by-step guide, you can successfully remove water stains from a textured ceiling and restore the visual appeal of your interior space. However, keep in mind that extensive or persistent water damage may require professional assistance. Regular maintenance and prompt attention to any water-related issues can help prevent future stains and damage, ensuring a clean and pristine ceiling for years to come.